DIY Gothic Cemetery Gate: Build a Spooky Entrance for Halloween
Introduction and Planning
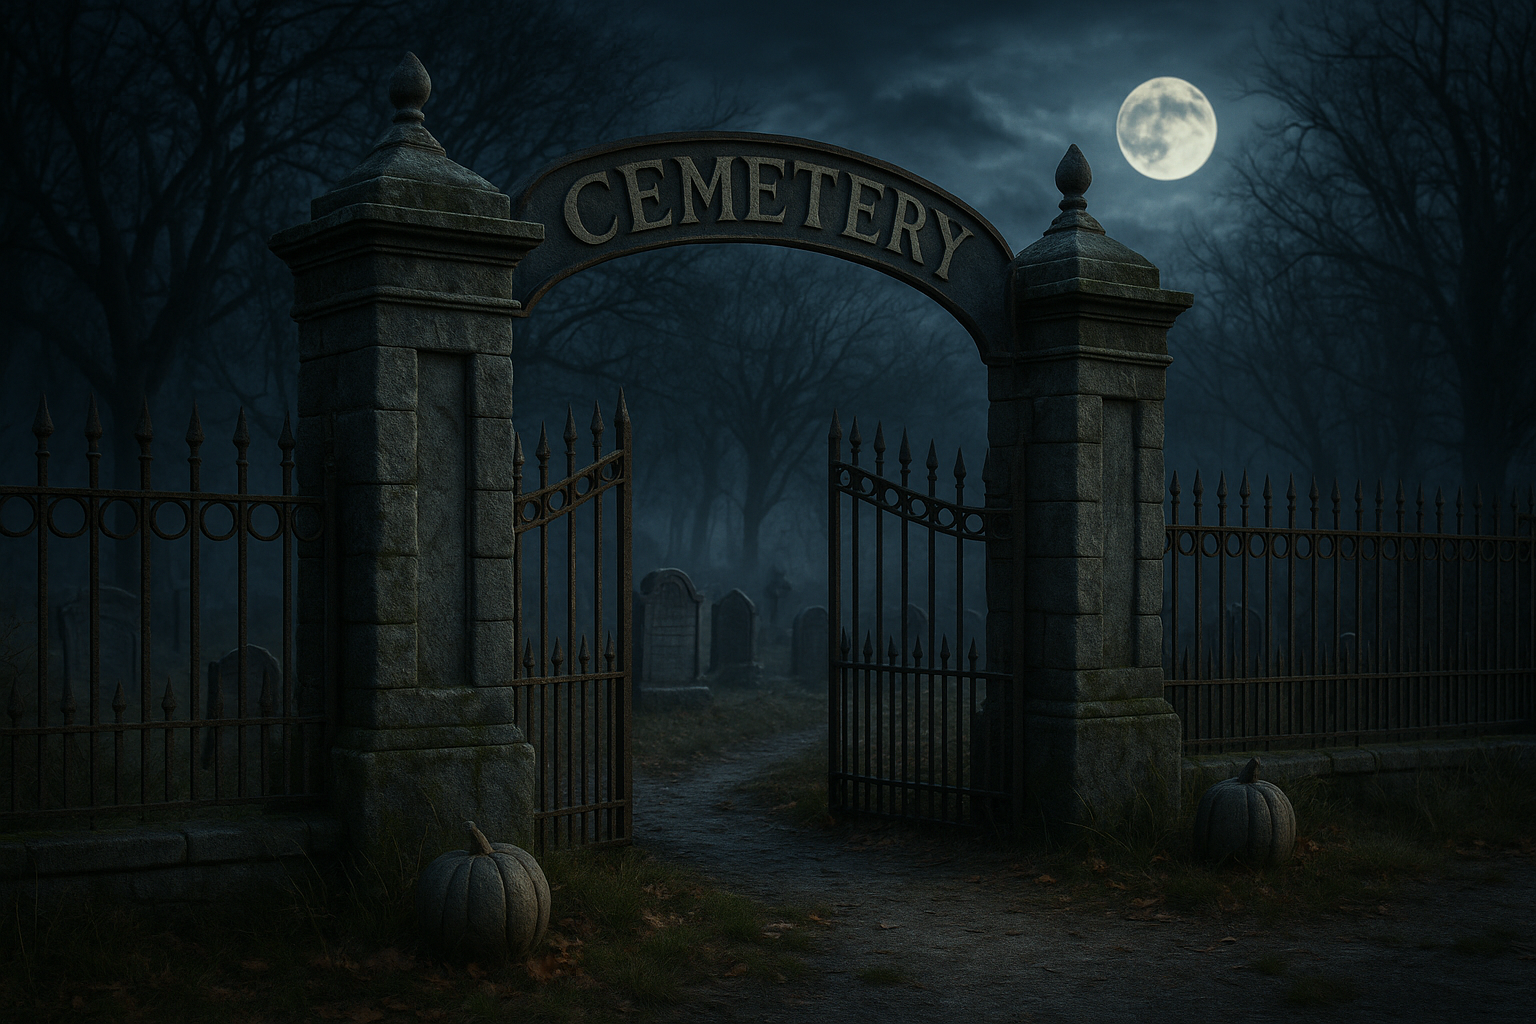
A weathered iron gate flanked by crumbling stone columns immediately signals to visitors that they’re entering a haunted realm. Building a DIY cemetery gate and fence is surprisingly achievable with basic tools, affordable materials and a bit of patience. This project transforms an ordinary yard into a spooky spectacle, providing a dramatic backdrop for gravestones and animatronics. Before you start, decide on the size of your gate and fence. Measure the width of your walkway or driveway and consider how tall the fence should be to create the desired impact without obstructing sightlines for safety. Sketch your design, including posts, rails and decorative elements such as skull finials or a sign that reads “Rest in Peace.”
Gathering Materials and Tools
The core of a DIY cemetery fence typically consists of PVC pipe, foam board and wood, which mimic wrought iron and stone without excessive weight. To build a 12-foot fence with a central gate, you will need:
- PVC pipe for vertical bars (one-inch diameter works well) and crossbars for stability.
- Pressure-treated wood or PVC posts to serve as columns supporting the gate.
- Styrofoam or insulation foam board for creating stone-like textures on columns.
- 1×2 wooden boards for the gate frame.
- Screws, zip ties or PVC cement to connect pieces.
- Craft foam, skulls or finials for decorative top pieces.
- Paint: flat black and dark gray exterior paint, plus accent colors like mossy green.
- Tools: a saw (miter or hand), drill, measuring tape, sandpaper, utility knife, hot glue gun and paintbrushes.
Visit local hardware and craft stores to source these items. Many DIYers repurpose old pallets for wood, and some thrift stores carry plastic skulls or faux iron decor that can be adapted. Buy extra PVC and foam to allow for mistakes or modifications.
Building the Fence Framework
Start by constructing the fence sections. Cut PVC pipes to your desired height, typically between four and six feet. Space them evenly along a horizontal crossbar, securing each vertical bar with PVC cement, screws or zip ties. If you want the fence to resemble wrought iron, slightly taper the tops with a file or add pre-made spear finials. For sturdiness, attach a second horizontal crossbar near the bottom of the fence.
Once the fence panels are assembled, attach them to posts. You can bury PVC or wooden posts in the ground or mount them on portable bases made from wood or concrete if the fence needs to be freestanding. For stone-like columns, cut foam board into rectangles and stack them around the post to create a square column. Use hot glue to attach the foam pieces and carve cracks or chipping into the surface. Coat the foam in a mixture of water and joint compound or use a stone-textured spray paint to add realism. Secure the fence panels to the columns using screws or heavy-duty zip ties.
Constructing and Detailing the Gate
The gate is the focal point of your build. Create a rectangular frame using 1×2 boards sized to fit between your columns, adding a diagonal brace for stability. For a Gothic look, arch the top of the gate by cutting two curved pieces and fastening them to the top corners. Attach PVC bars vertically within the frame to mimic the fence. Use wood glue and screws to secure everything tightly.
For added flair, craft a sign or crest for the top of the gate. Cut a piece of foam board into the desired shape — perhaps a shield or an arched plaque — and carve letters such as “Cemetery” or “Beware.” Use a rotary tool to engrave cracks and aged details. Attach the plaque with screws or brackets. You can also embellish the gate with store-bought skulls, bats or faux wrought iron scrollwork. Attach them with hot glue or screws, making sure they’re firmly in place to withstand wind.
Painting and Aging for Authenticity
Painting transforms your build from a collection of pipes and foam into a convincing gate. Begin with a base coat of flat black paint, covering every surface thoroughly. Allow it to dry completely. Then, apply a dry-brush technique using dark gray paint; dip the brush lightly and wipe most of the paint off before gently brushing raised areas. This creates highlights and emphasizes texture. For stone columns, add patches of mossy green or brown to simulate lichen and weathering. You can also apply a watered-down wash of brown or green to crevices to simulate grime.
Don’t forget to age metal elements. Touch up finials or hardware with rust-colored paint, focusing on joints and edges. For an even more authentic look, apply a coat of matte clear sealant to protect the finish from moisture and sun. The layering of colors adds depth and prevents the gate from looking flat or cartoonish.
Setup, Safety and Storage Tips
When installing your cemetery gate, choose a level area and ensure that posts are secure. If burying posts, dig holes at least two feet deep and fill them with concrete. For freestanding gates, attach heavy bases or weights to prevent tipping. Use caution around electrical wiring if running lights or animatronics near the gate; hide extension cords and secure them with stakes or clips. Keep the gate lightweight enough to open and close easily, especially if it will be used frequently during trick-or-treating hours.
After the season ends, disassemble panels carefully to avoid breaking the foam columns. Label each section for easier reassembly the following year. Store pieces in a dry area away from heat sources. If you used foam that’s prone to warping, consider wrapping it in plastic or placing flat boards on top to keep it straight. Touch up paint and reinforce joints before storage to extend the life of your project.
Conclusion
A DIY cemetery gate and fence create a grand entrance that sets the tone for your haunted yard. With careful planning, basic materials and creativity, you can build a durable prop that will impress neighbors and visitors. Beyond the thrill of scaring guests, constructing your own gate is rewarding — it allows you to customize the design, practice new skills and save money compared to purchasing pre-made options. So gather your tools, sketch your design and start crafting the gateway to your ghoulish realm.
Latest Video
haunt your inbox
Sign up for exclusive news, spooky updates, and more.