

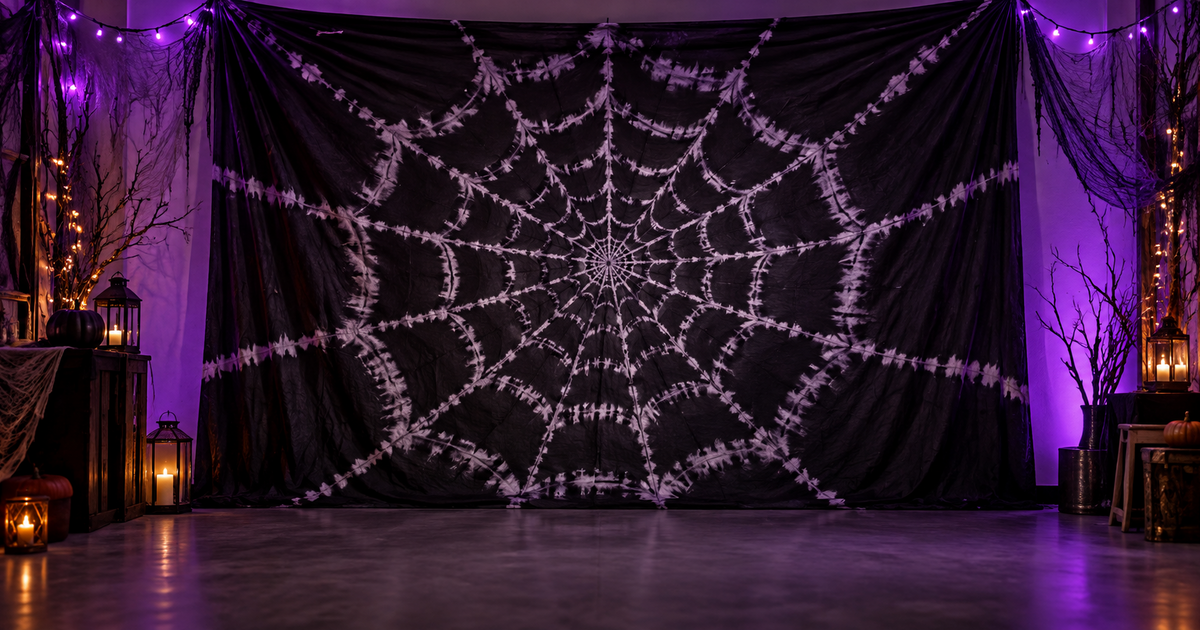
How to Make a DIY Spiderweb Photo Backdrop for Halloween with a Dyed Sheet
To make a spiderweb photo backdrop, pinch the center of a cotton bedsheet, wrap it tightly with twine from just below the pinch down its length, soak it in a hot black dye bath for 3 to 20 minutes, rinse until the water runs clear, then unwrap it. The unwrapped sheet shows a radiating web pattern that hangs as a backdrop.
A dyed web sheet makes a dramatic photo backdrop for a Halloween party, porch or trick-or-treat family picture, and the pattern comes from the wrapping rather than any drawing skill. Start with a cotton bedsheet, some twine and black fabric dye, and shop other party extras on Amazon. The steps follow Rit’s own Spiderweb Photo Backdrop tutorial, which is rated beginner level.
What do you need for a spiderweb photo backdrop?
| Item | Why you need it |
|---|---|
| Cotton bedsheet | The backdrop; the source gives no size |
| Rit All-Purpose Liquid Dye, Black | Colors the sheet |
| Twine | Wrapped around the sheet to resist the dye and make the web lines |
| Rit ColorStay Dye Fixative | Recommended in the steps to set the color |
| Salt (1 cup) and dish detergent (1 teaspoon) | Added to the three-gallon dye bath |
| Rubber gloves | Keep dye off your hands |
| Large plastic container or stainless steel sink, plastic table cover, paper towels | Containment and cleanup |
How do you dye a spiderweb sheet?
- Protect your space. Cover the work area with a plastic table cover and keep paper towels nearby.
- Pinch and drop. Pinch the center of the sheet, hold it up and let the four corners fall.
- Wrap with twine. About a half inch from the pinched center, tie a knot, then wrap the twine down the length of the fabric. Tighter wrapping leaves more white space.
- Mix the bath. Fill a container or sink with three gallons of hot water, ideally 140°F. Add one cup of salt and one teaspoon of dish detergent, then add a well-shaken bottle of black dye while wearing rubber gloves.
- Dye the sheet. Dampen the sheet, then submerge it. Leave it 3 to 5 minutes for high contrast or 10 to 20 minutes for deeper color.
- Set the color. Leave the twine on and apply the fixative right after dyeing, following the package directions. Rinse in cool water until the water runs clear.
- Unwrap and wash. Remove the twine, unravel the sheet, then wash in warm water with mild detergent, rinse and dry.
How do you use the backdrop?
Hang the dry sheet from a curtain rod, clips or a PVC frame against a wall, and light it from the sides. Our haunted house photography tips cover low-light shots, and you can add dimension with the cobwebs in our realistic spider webs guide. The budget home haunt build guide has more inexpensive ways to fill out the scene.
Safety note (ours): dye stains skin, clothing and countertops, so wear gloves and old clothes, and keep dye away from children and pets. The source asks for 140°F water, which can scald, so handle the hot bath carefully. Wash the dyed sheet separately the first time, and keep it away from candles and heaters.
Frequently Asked Questions
How do I get more white web lines? The source says tighter twine wrapping leaves more white space.
How long should the sheet stay in the dye? 3 to 5 minutes gives high contrast and 10 to 20 minutes gives more color, per the source.
Do I need the dye fixative? The steps recommend applying Rit ColorStay Dye Fixative right after dyeing, following the package instructions.
What size sheet should I use? The source does not say. Choose one that fits the wall space you want to cover.
Can I dye it in the washing machine? The tutorial uses a container or stainless steel sink, so we stick to that method.
Posing for pictures? Read our haunted house photography tips before you shoot.

As an Amazon Associate we may earn commission from qualifying purchases at no extra cost to you.
new in halloween animatronics
Buying a used or resold Halloween animatronic? Use this checklist to test motion, sound and sensors, judge a fair price and pay safely before you buy.
When is the best time to buy Halloween animatronics? Compare preseason launches, late-October markdowns, post-Halloween clearance and off-season buying to save.
Lowe's cut 9 Haunted Living and Disney animatronics 30-55%. See which markdowns are the best value per foot, which to skip, and how to check price and stock.
Find Haunted Houses in:
trending in haunt industry
Everything you need to know about East Coast Haunters Convention 2026 — dates, location, what to expect, haunt tours, seminars, and how to get tickets before prices increase.
HalloweenCostumes.com's 2026 Fan Design Program lets you design a real Halloween animatronic. Two winners get 10 props each plus 5% revenue. Submissions close April 30.
ShudderCon 2026 runs April 25–26 at Camp Jordan Arena in East Ridge, TN. Tickets from $15–$75. Here's the full preview for horror fans, haunt pros, and scare actors.